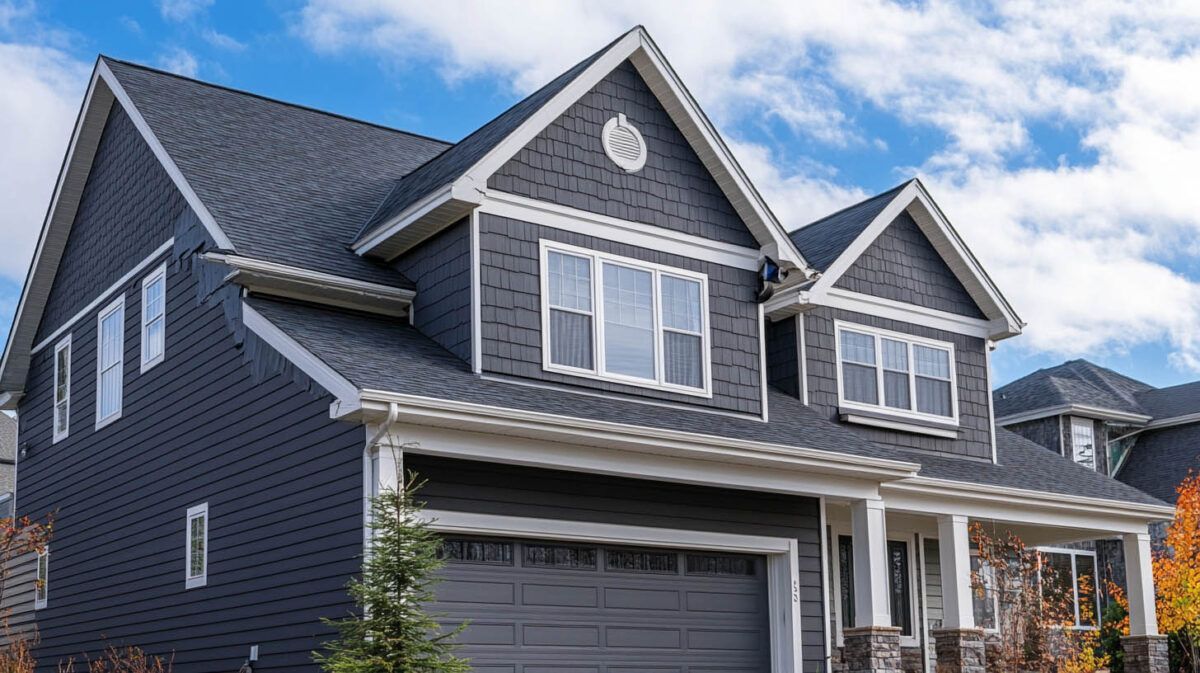
Replacing your home’s siding is a significant investment that enhances curb appeal, improves energy efficiency, and protects against weather damage. Understanding the siding installation process helps homeowners prepare, ensuring a smooth and efficient project.
Preparing for a Siding Installation
1. Clear the Work Area
Before the project begins, remove any furniture, garden decorations, or equipment near your home’s exterior. This prevents accidental damage and provides space for the installation team to work efficiently. Trim overhanging tree branches and bushes to avoid obstructions.
2. Protect Interior Belongings
Siding removal and installation can cause vibrations that may affect wall-mounted items inside the house. Remove fragile items such as picture frames, mirrors, or shelves to prevent them from falling.
3. Ensure Power Accessibility
Installation crews require access to electrical outlets for their tools. Confirm that at least one outdoor outlet is functional or provide an extension cord from inside the home.
4. Make Alternative Work Arrangements
Siding installation is a loud process involving power tools and hammering. If you work from home or have small children, consider making alternative arrangements for a quieter environment.
What to Expect Before Construction Begins
1. Delivery of Materials and Dumpster Placement
A few days before the siding project starts, materials such as siding panels, underlayment, and fasteners will be delivered. If a dumpster is necessary for debris removal, clear a designated space in your driveway or seek permission from local authorities if street placement is required.
2. Initial Inspection and Planning
A pre-installation walkthrough allows the contractor to inspect the existing siding, assess structural conditions, and finalize any necessary adjustments to the project plan.
3. Weather Considerations
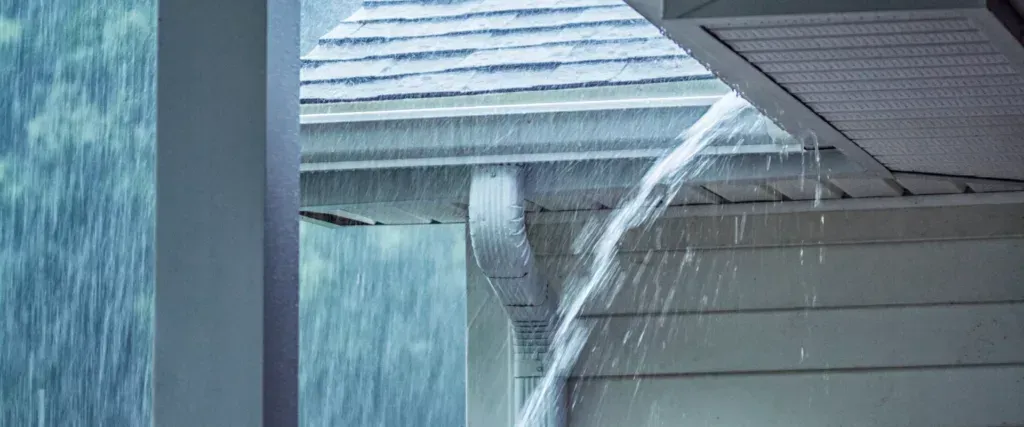
Siding installation is highly dependent on weather conditions. Mild temperatures and dry weather are ideal for ensuring adhesives and sealants cure properly. Delays may occur if extreme conditions arise.
The Siding Installation Process
1. Removing Old Siding
The first step in the siding replacement process is carefully removing the existing materials. The crew may work in sections or remove all the siding at once. During this process, they will:
- Inspect the home’s sheathing for rot, mold, or pest damage.
- Address any structural issues before proceeding with the new installation.
- Remove nails, staples, and debris for a clean working surface.
2. Installing the Moisture Barrier
A weather-resistant barrier (WRB) is applied before siding installation. This layer protects against water infiltration while allowing moisture inside the walls to escape, preventing mold and rot.
3. Siding Installation
Depending on the material chosen, the siding is installed according to manufacturer specifications. The most common types include:
- Vinyl Siding:
Installed in overlapping panels to accommodate expansion and contraction.
- Fiber Cement Siding:
Requires precise cutting and fastening to ensure a secure fit.
- Wood Siding:
Installed with moisture-resistant underlayment to protect against decay.
4. Trim and Finishing Touches
Once the main siding panels are installed, trim is applied around doors, windows, and corners to create a polished appearance. Caulking and sealing are completed to prevent water intrusion.
5. Cleanup and Final Inspection
A professional crew will clean the work area, removing debris and ensuring all fasteners and tools are accounted for. A final walkthrough with the contractor ensures that all work meets quality standards and the homeowner’s expectations.
How Long Does a Siding Project Take?
The timeframe for siding installation depends on several factors, including:
- Home size:
Larger homes require more labor and materials, extending the timeline.
- Material selection: Fiber cement siding takes longer to install than vinyl due to additional cutting and sealing requirements.
- Weather conditions:
Rain, extreme cold, or high humidity can delay progress.
On average, a siding replacement project takes 8 to 15 days, with unexpected repairs potentially adding time.
Signs of a Successful Siding Installation
A well-installed siding system provides years of durability and protection. Key indicators of a quality installation include:
- Evenly aligned panels with no warping or gaps.
- Secure fastenings that allow for slight movement to accommodate expansion and contraction.
- Properly sealed joints and trim to prevent water infiltration.
- No visible nails or exposed edges that can weaken the siding over time.
Choosing the Right Siding Contractor
1. Look for Certified Installers
Hiring a certified contractor ensures adherence to best practices and manufacturer guidelines. A James Hardie Elite Preferred Contractor, for example, has undergone specialized training to install fiber cement siding correctly.
2. Check Reviews and Industry Credentials
A reputable contractor should have positive customer reviews and industry accreditations. 180 Contractors Roofing & Siding, located in Troy, MI, holds certifications such as BBB A+ accreditation, Guildmaster (GuildQuality), INC 5000, Google Guaranteed, and Qualified Remodeler Top 100 Satisfaction. Working with premium brands like James Hardie, Alside, and Everlast, we ensure quality craftsmanship and superior materials.
3. Get a Detailed Estimate
A comprehensive estimate should outline material costs, labor fees, warranty details, and a projected timeline. Transparency in pricing and communication is key to a smooth project.
FAQs About Siding Installation
1. Do I need to be home during the siding installation?
While homeowners do not need to be present for the entire process, being available for the initial and final walkthroughs is recommended to address any concerns.
2. Can siding be installed in winter?
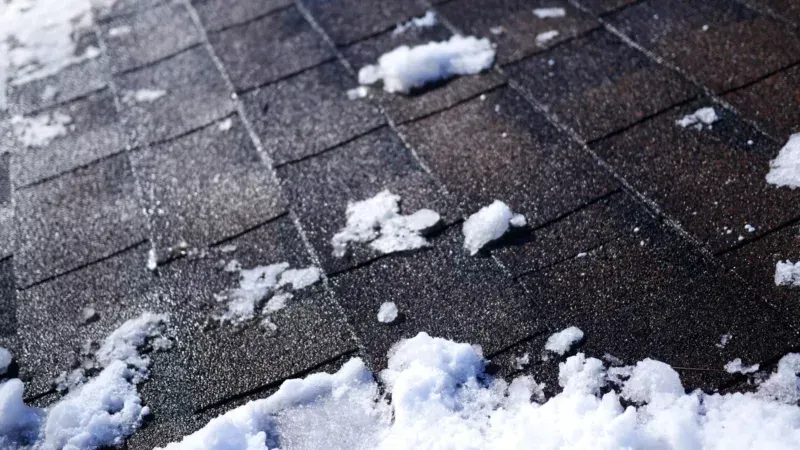
Yes, but extreme cold can make materials brittle and adhesives less effective. Spring and fall are the best seasons for siding installation.
3. How much does a siding replacement cost?
Costs vary based on home size, material choice, and labor rates. On average, homeowners spend between $7,000 and $20,000 for a full siding replacement.
4. How do I maintain my new siding?
Regular cleaning with mild soap and water, annual inspections, and prompt repairs for minor damage help extend the lifespan of your siding.
5. Does new siding improve energy efficiency?
Yes, especially when paired with an insulated underlayment. Fiber cement and insulated vinyl siding provide better thermal resistance, reducing heating and cooling costs.
Conclusion
A siding replacement project enhances your home’s appearance, durability, and energy efficiency. Understanding the process—from preparation and installation to final inspection—ensures a smooth experience. Choosing a qualified contractor and high-quality materials guarantees long-term protection and value.
Read also our blog:
Designing with Chestnut Brown: Elevate Your Home’s Exterior with Timeless Siding Colors