
A roof leak is more than just an inconvenience; it’s a breach in your home’s first line of defense against the elements. Identifying and addressing the source of a roof leak promptly can prevent further damage to your home. This guide delves into the ten most common roof leak locations, offering insights into detection and prevention strategies that ensure your home remains dry and secure. 1. Shingle Damage Shingles are the outermost layer of protection for many roofs. Over time, they can become damaged due to severe weather conditions, falling debris, or wear and tear. Cracked, missing, or curled shingles are clear indicators that water may infiltrate your home. Detection Tips: Regularly inspect your roof for shingle damage, especially after heavy storms. Look for signs of shingle granules in gutters; this can indicate advanced wear. 2. Improperly Sealed Valleys Valleys, where two roof planes meet, are prone to leaks if not sealed correctly. Water can seep through the gaps and into your home if the sealant deteriorates over time or if the initial installation was flawed. Prevention Strategies: Ensure valleys are properly sealed during installation and maintenance checks. Consider installing metal flashing for added durability and protection. 3. Roof Flashing Compromise Flashing, typically made of metal, is used to direct water away from critical areas of the roof, such as chimneys, vents, and where the roof meets a wall. If flashing is damaged or loosens, it can become a prime entry point for water. Maintenance Advice: Inspect flashing regularly for signs of rust, cracks, or separation. Replace damaged flashing immediately to prevent water damage. 4. Vent Boot Deterioration Vent boots, which seal the area around roof vents, can deteriorate over time, allowing water to enter the home. Cracked or worn vent boots are common sources of leaks. Inspection Tips: Check the rubber seals around vent boots for signs of wear or cracking. Replace any damaged vent boots as part of routine roof maintenance. 5. Skylight Leaks Skylights add natural light to your home but can be vulnerable to leaks if not installed correctly or if the seals around them fail. Leak Prevention: Ensure skylights are installed with proper flashing and sealing. Regularly check the seals for cracks or gaps and reseal as necessary. 6. Clogged Gutters Gutters play a crucial role in directing water away from your roof and home. When gutters are clogged with debris, water can back up and seep under the roof shingles, leading to a roof leak. Regular Maintenance: Clean gutters at least twice a year to prevent blockages. Consider gutter guards to reduce debris accumulation. 7. Chimney Wear and Tear The intersection of your chimney is a common location for a roof leak, especially if the chimney cap is damaged or the mortar between bricks has eroded. Chimney Care: Inspect the chimney cap and replace it if damaged. Repointing the chimney can prevent water from entering through eroded mortar. 8. Ice Dam Formation In colder climates, ice dams can form at the roof’s edge, preventing melting snow from draining off the roof. This can lead to water backing up under the shingles and into the home. Ice Dam Mitigation: Ensure your attic is well-insulated to prevent heat from escaping and melting snow unevenly. Install roof heating cables to prevent ice dam formation. 9. Attic Condensation A poorly ventilated attic can lead to condensation buildup, which may mimic a roof leak. This moisture can damage your roof structure and interior ceilings. Ventilation Solutions: Improve attic ventilation to allow moisture to escape. Insulate attic floors to prevent warm air from rising and condensing. 10. Age-Related Wear Over time, roofing materials can deteriorate, making your roof more susceptible to leaks. Regular inspections can identify potential problems before they lead to significant damage. Longevity Tips: Schedule professional roof inspections annually. Consider a roof replacement if your roof is beyond its expected lifespan and repairs are frequent. Partnering with Professionals: when You Have a Roof Leak For homeowners in Waterford, MI, facing persistent roof leak challenges, partnering with a reputable roofing contractor like 180 Contractors Roofing and Siding can provide peace of mind. Their expertise in identifying and repairing leak sources ensures your home remains protected against the elements. Conclusion Addressing your roof leak promptly and effectively requires an understanding of the most common leak locations and their prevention strategies. By staying vigilant and undertaking regular maintenance, homeowners can safeguard their homes against the potentially devastating effects of water damage.

Your roof works silently year after year, shielding your home from rain, wind, sun, and snow. But like every part of your home, it doesn’t last forever. The key is knowing when repair is no longer enough—and a full roof replacement is the smarter, safer move. For homeowners in Bloomfield Hills, MI, where intense season
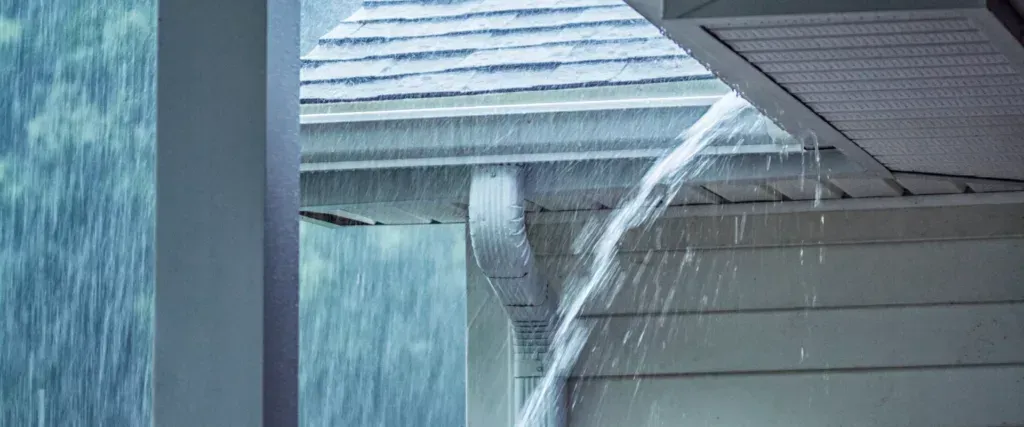
Michigan weather can be tough on homes, especially when it comes to your roof. From heavy snow in the winter to strong thunderstorms in the summer, each season brings conditions that can wear down roofing materials over time. Knowing how these storms affect your roof can help you catch problems early and avoid more ser