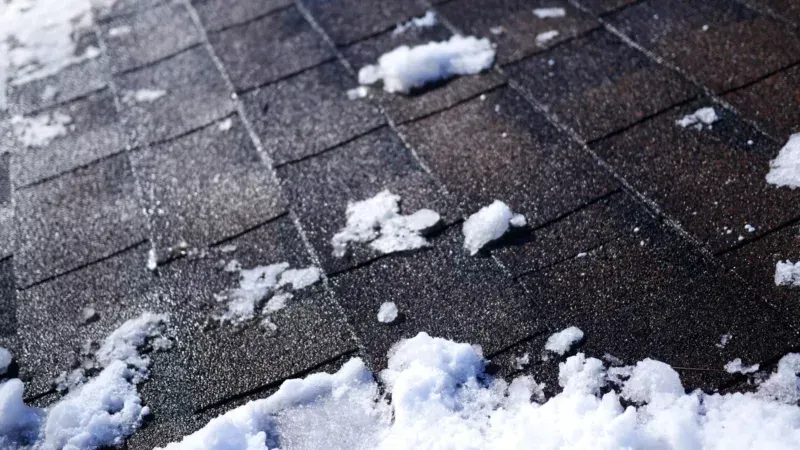
Dealing with roof damage is stressful enough—trying to handle the insurance process on top of it can be overwhelming. In Waterford, MI, where hailstorms, wind, and seasonal shifts frequently take a toll on roofing systems, knowing how to navigate the roofing insurance claim process is essential for protecting your home and your wallet.
At
180 Contractors Roofing & Siding, we’ve helped hundreds of Michigan homeowners file successful roofing claims after storm damage. In this blog, we’ll break down the insurance claim process step by step, so you can move forward with confidence and avoid common pitfalls.
Step 1: Know What Your Policy Covers
Before a storm ever hits, review your homeowner’s insurance policy. Most standard policies cover roof damage caused by sudden events such as:
- Hail
- Windstorms
- Falling trees or debris
- Fire
However, coverage usually excludes damage caused by normal wear and tear, poor maintenance, or pre-existing issues. Knowing what’s included—and what’s not—will help you set realistic expectations when filing a claim.
If you’re unsure about your coverage, ask your insurance agent to clarify deductibles, exclusions, and time limits for filing.
Step 2: Inspect Your Roof After a Storm
Once it’s safe, check your roof and surrounding property for signs of storm damage:
- Missing or curled shingles
- Granules in gutters or around the home
- Water stains on ceilings or attic walls
- Visible dents on vents, gutters, or flashing
- Fallen tree limbs or debris on the roof
Take detailed photos and videos from multiple angles to document everything. This evidence is crucial when working with insurance adjusters.
Step 3: Call a Trusted Local Roofing Contractor
Before contacting your insurance company, reach out to a reputable roofing contractor for a professional inspection. At 180 Contractors Roofing & Siding, we offer free post-storm evaluations that include:
- High-resolution photo documentation
- Detailed damage reports
- A clear explanation of what repairs are needed
- Help determining whether the damage meets insurance thresholds
Working with a local contractor early in the process ensures your claim is well-supported and gives you an expert advocate from the start.
Step 4: File Your Insurance Claim
Once damage is confirmed, file a claim with your insurance company as soon as possible. Most policies require claims to be filed within a specific window (often 6–12 months after the event).
Be ready to provide:
- The date and time of the storm
- Description of the damage
- Photos and inspection reports
- Contractor contact information
The insurer will schedule an adjuster to assess the damage in person.
Step 5: Meet With the Adjuster
When the insurance adjuster arrives, it’s ideal to have your roofer on-site. The adjuster may not catch every detail, but your contractor can ensure nothing is overlooked—especially subtle damage that could lead to leaks later on.
At 180 Contractors Roofing & Siding, we coordinate directly with adjusters to make the process smoother for homeowners in Waterford.
Step 6: Review the Insurance Estimate
After the inspection, you’ll receive a written estimate from your insurer. This document outlines:
- The scope of covered repairs or replacements
- The amount approved for each line item
- The total payout minus your deductible
Review this document carefully. If anything seems off—or if damage was missed—your contractor can help you request a re-inspection or supplement to include the missing items.
Step 7: Approve the Work and Start Repairs
Once your claim is approved, it’s time to move forward with repairs or a full roof replacement. Choose a contractor that:
- Is licensed and insured
- Has local experience and references
- Offers clear contracts and warranty details
- Uses high-quality materials
We proudly use Owens Corning roofing systems—engineered for durability and designed to withstand Michigan’s unpredictable weather patterns.
Step 8: Get Final Documentation for Your Records
After the job is completed, your contractor should provide:
- Final photos of the repaired roof
- Invoices and receipts
- Proof of warranty (from both the contractor and manufacturer)
Submit this documentation to your insurance company to finalize the claim and receive any remaining funds from your insurer (known as depreciation).
Final Thoughts: Expert Help Makes the Process Easier
Filing a roofing insurance claim doesn’t have to be stressful. With the right team on your side, you can restore your home quickly and protect your investment. The key is partnering with a knowledgeable contractor who understands both roofing and the insurance process.
At 180 Contractors Roofing & Siding, we advocate for our customers every step of the way—from the initial inspection to final completion—ensuring you get the coverage and quality your home deserves.
Read also our blog:
Essential Roof Care Tasks for Spring and Summer