
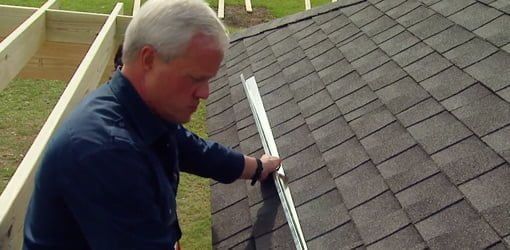

Roof Ventilation 101 Roof ventilation includes ensuring that proper flow of air takes place in your roof. This is achieved mostly with the help of roof vents or attic vents. Roof ventilation is as important as kitchen ventilation or bathroom ventilation. When a problem arises in any of these vents, a host of issues come about and cause unnecessary trouble. Similarly, if your house lacks proper roof ventilation, then it is only a matter of time before you start to face some grave consequences. If you’re new to this whole topic of roof venting, then don’t worry. In this blog we’re going to discuss in depth about the importance of roof ventilation, conditions that clearly depict that your roof has an inadequate roof ventilation system and all the types of roof vents that are available for you to choose from. Importance of Roof Ventilation: Roof Ventilation In Summers- Warm air rises up and causes the roof deck of your house to heat up. If your roof lacks proper ventilation, then this built-up air will warm the ceilings of your house too, in turn increasing the temperature of the rooms of your house. If there is heat exposure from the interiors of your roof, for a prolonged time then the roofing shingles will age faster than they are supposed to and this will considerably decrease the lifespan of your roof. If your roof gets heated up then the trapped air inside your attic will transfer the heat to the interior rooms of your house and will force you to use air conditioning systems resulting in high utility costs. Roof Ventilation In Winters- Warm air that is trapped in the attic condenses on colder surfaces resulting in the formation of little water droplets that make your attic dampen and moist. The interior of your roof can get severely affected owing to the excess moisture content in your attic. This will lead to the formation of mold and mildew as these fungi thrive in cold and damp areas that do not receive enough sunlight. Warm air in the attic will cause snow on the rooftop to melt at different time spans leading to uneven roof surface temperatures. Snow collected at the top of the roof will melt faster than the snow load at the edges of the roof and this will form highly problematic ice dams. How to Understand that your Roof Ventilation isn’t Functioning Well? Formation of Frost on Wooden Beams Frost is an important sign that depicts poor roof ventilation system. If you notice frost appearing in the underside of your roof shingles and in your attic then it is due to the moisture stuck in your attic that is unable to filter out because of poor ventilation. Damp Insulation If you find that your house is warmer in summers and colder in winters then it is probably due to your ill-functioning insulation. To do its work properly, your insulation needs to stay fluffy and damp-free. Accumulation of moisture in the attic due to inadequate attic ventilation is the main cause behind roof insulation not working as it should. Ice-dams on the Roof If there is formation of icicles on the edge of your roof during winters, then it is an alarming reminder that your roof ventilation is done in a poor way. Because of improper attic ventilation, the surface of your roof gets heated up at dissimilar intensities. The areas of your roof that are directly in contact with the warm air rising from the inside, will grow warmer and cause the snow to melt faster. Whereas the snow at the edge will take a prolonged time to melt. This will give rise to ice dams on your roof. Molten ice will get clogged and infiltrate your roof shingles causing them to rot and swell up. Types of Roof Vents Available: Box Vent- These vents resemble a box and are installed at the top of the roof to ensure that the hot air rising from within gets vented out through these. A single box vent does not take up much space and is comparatively smaller in size; depending on the surface area of your roof, you might need to install more than one box vents to ensure proper roof ventilation. View all types of roof vents available here. Ridge Vent- These vents have a low profile which makes it almost impossible to spot from afar. These are placed at the top of your roof, preferably along the ridgeline. Since these are placed like a stationary hinge, it lets the warm air vent out of the attic from the minute gap where two slopes of your roof meet. This ridge is big enough for the air to pass out but it prevents rain and critters from getting inside your attic. Soffit Vent- Unlike the ridge vents and box vents, Soffit vents are placed at the bottom of the roof, underneath the eaves. Soffit vents can be installed on their own to ensure attic ventilation but these work better when installed in combination with box vents or ridge vents. Power Vent- These vents as the name suggests, requires electric supply to function properly. These are wired with your home’s electrical system but can run on solar panels too. Since these lead to added energy investments, a homeowner must ensure that these are not running when there isn’t any need for it. A thermometer and a humidistat can help you understand when your power vents need to be switched on. Turbine Vent- If you live in a windy climate, then this roof ventilation system is your best option. With heavy wind, the turbine attached to these vents spin really hard moving warm air out of the attic. A lot of homeowners end up taking their roof ventilation for granted. If left unattended, roof ventilation problems can lead to far bigger problems which can end up damaging your whole roof and forcing you to go for a roof replacement. Avoid such situations and go for any of these roof vents that are mentioned above and you wouldn’t need to worry about your attic ventilation ever again. Contact Michigan’s premier roofing company to consult about roof ventilation options here.

Your roof works silently year after year, shielding your home from rain, wind, sun, and snow. But like every part of your home, it doesn’t last forever. The key is knowing when repair is no longer enough—and a full roof replacement is the smarter, safer move. For homeowners in Bloomfield Hills, MI, where intense season
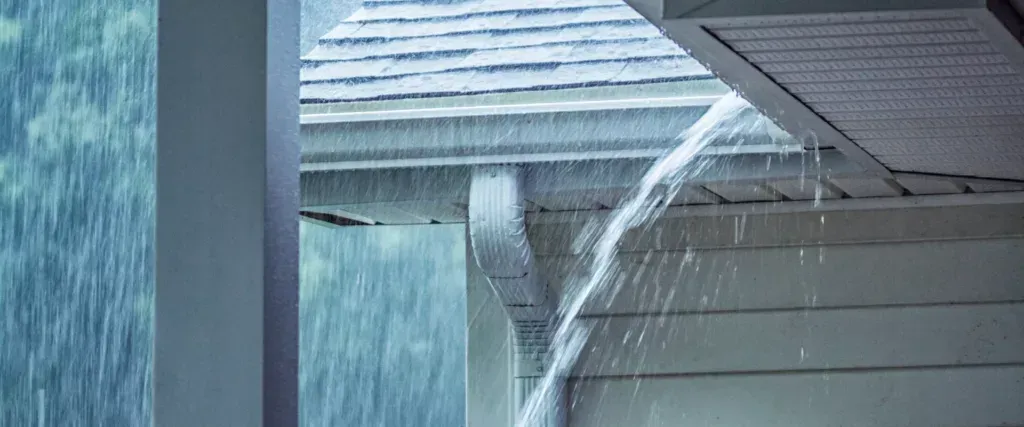
Michigan weather can be tough on homes, especially when it comes to your roof. From heavy snow in the winter to strong thunderstorms in the summer, each season brings conditions that can wear down roofing materials over time. Knowing how these storms affect your roof can help you catch problems early and avoid more ser