Understanding the Importance of Siding Repairs
Siding serves as the first line of defense against weather elements, pests, and structural deterioration. Over time, exposure to harsh conditions can lead to cracks, dents, and even full-blown breakage. Addressing damaged siding quickly prevents further issues such as moisture infiltration, insulation problems, and aesthetic decline. Whether dealing with vinyl, aluminum, or wood siding, following the right replacement process ensures a seamless finish and long-lasting protection.
When Should Siding Be Replaced Instead of Repaired?
Certain types of siding damage can be fixed with minor repairs, while others require full replacement. Factors that indicate the need for replacement include:
- Large cracks or holes: Small cracks in vinyl or wood can sometimes be patched, but extensive damage weakens the structure and requires new material.
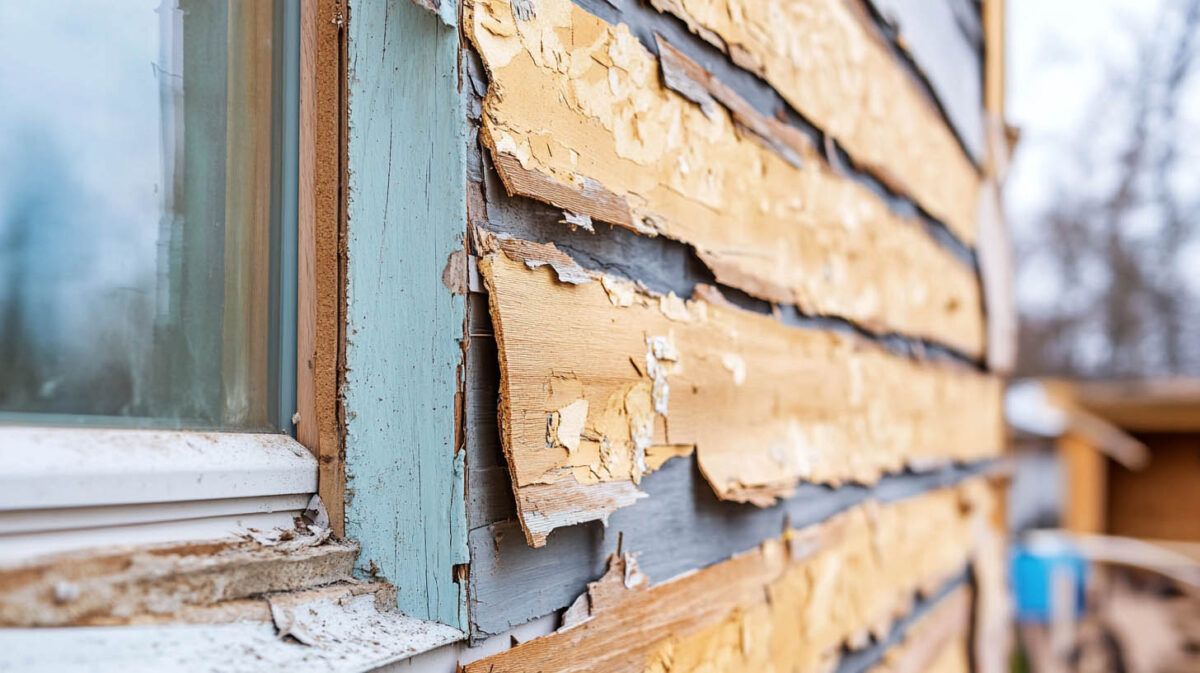
- Moisture damage and rot: Wood siding that shows signs of rot must be replaced to prevent spreading to adjacent boards.
- Warping or buckling:
Siding that no longer lies flat against the house has likely been compromised by heat or moisture and should be replaced.
- Pest infestation: If insects have burrowed into wooden siding, the affected boards must be removed and treated.
Tools and Materials Needed for Siding Replacement
Before beginning a siding replacement project, gathering the necessary tools and materials ensures a smooth process. These include:
- Replacement siding (matching the original material and color)
- Pry bar (to remove damaged siding)
- Hammer or nail gun
- Roofing nails or screws (depending on the siding type)
- Utility knife (for precise cuts)
- Zip tool (for vinyl siding removal)
- Caulk and sealant (for weatherproofing seams)
- Measuring tape and level
Step-by-Step Guide to Replacing Different Types of Siding
Replacing Vinyl Siding
Vinyl siding is lightweight and designed for easy interlocking installation. When a section becomes cracked or broken, replacing the damaged piece is straightforward.
1. Loosen the Damaged Panel
Use a zip tool to hook under the bottom lip of the siding above the damaged piece. Slide the tool along the panel to unlock it.
2. Remove the Nails
Lift the loose siding panel and locate the nails holding the damaged section. Use a pry bar or hammer to carefully remove them.
3. Install the Replacement Siding
Slide the new siding piece into place, ensuring it locks into the panel below. Leave a small gap between nails to allow for expansion and contraction with temperature changes.
4. Secure and Lock the Panels
Use the zip tool to snap the upper siding back into position. Press along the seam to ensure a tight fit.
Replacing Aluminum Siding
Aluminum siding offers excellent weather resistance but can dent or corrode over time. If a section is damaged, a replacement is necessary to maintain the integrity of the home’s exterior.
1. Cut Out the Damaged Section
Use tin snips to make vertical cuts at both ends of the damaged panel. Make a horizontal cut along the center to remove the lower section while leaving the nailed portion intact.
2. Apply Butyl Gutter Seal
Run a bead of butyl gutter seal along the top of the exposed nailed section. This creates a watertight seal.
3. Install the New Siding Panel
Slide the new aluminum panel into place, ensuring it fits snugly with the adjacent pieces. Press firmly to adhere it to the butyl seal.
4. Seal the Seams
Apply silicone caulk to the joints where the new panel meets the existing siding. This prevents moisture from seeping behind the siding.
Replacing Wood Siding
Wood siding requires extra care during replacement to prevent further splitting or damage to surrounding sections.
1. Cut and Remove the Damaged Board
Use a utility knife to score along the length of the damaged wood board. Insert a pry bar beneath the board and gently tap with a hammer to loosen it.
2. Prepare the Replacement Board
Measure and cut a new wood siding panel to match the removed section. If necessary, prime and paint the board before installation to ensure uniform color and protection.
3. Secure the Replacement Siding
Position the new board in place and secure it using galvanized nails. Avoid overdriving the nails, as this can crack the wood.
4. Finish with Caulking and Painting
Seal any gaps with exterior caulk to prevent water infiltration. Touch up the paint as needed to blend with the surrounding siding.
Preventative Measures to Avoid Future Siding Damage
Regular Maintenance Inspections
- Check for signs of cracking, warping, or moisture damage at least once a year.
- Inspect siding after severe storms to catch minor issues before they worsen.
Proper Installation and Ventilation
- Ensure siding is installed with appropriate expansion gaps to prevent warping.
- Maintain adequate ventilation in attics and wall cavities to reduce moisture buildup behind siding.
Protective Measures Against Impact Damage
- Keep landscaping trimmed to prevent branches from scratching or denting siding.
- Install protective barriers in areas prone to high wind or flying debris.
Choosing a Reliable Siding Contractor
A professional siding contractor ensures a flawless replacement with expert installation techniques and high-quality materials. 180 Contractors Roofing & Siding, located in Troy, MI, is a trusted provider of siding installation and repair services. The company is BBB A+ accredited, Guildmaster (GuildQuality) certified, INC 5000 recognized, Google Guaranteed, and ranked in the Qualified Remodeler Top 100 Satisfaction list. Working with industry-leading brands such as James Hardie, Alside, and Everlast, their team delivers top-tier craftsmanship and customer satisfaction.
Conclusion
Replacing damaged siding is an essential step in preserving a home’s structural integrity and aesthetic appeal. Whether working with vinyl, aluminum, or wood siding, following the correct replacement procedures ensures a secure fit and long-lasting durability. Preventative maintenance and expert installation further protect against future damage, making siding a valuable investment in a home’s longevity.
FAQs
1. Can I replace a single piece of siding, or do I need to replace the entire section?
Yes, individual siding pieces can be replaced without removing the entire section. Matching the new siding to the existing material and color ensures a seamless repair.
2. How do I prevent my vinyl siding from warping after replacement?
Do not nail vinyl siding too tightly—leave a small gap to allow for natural expansion and contraction with temperature changes.
3. What is the best time of year to replace siding?
Spring and early summer are ideal, as moderate temperatures make installation easier and prevent excessive expansion or contraction of materials.
4. How can I tell if my siding needs replacement instead of repair?
If siding shows signs of moisture damage, warping, or widespread cracking, replacement is the best long-term solution. Small cracks or minor holes can often be patched.
5. How long does siding replacement take?
For small repairs, siding replacement can be completed in under an hour. Larger sections or full home replacements may take a few days, depending on the scope of the project.
Read also our blog:
Expert Guide to Maintaining Vinyl Siding for Long-Lasting Durability