Understanding the Installation Process
James Hardie siding is known for its durability, weather resistance, and premium aesthetic appeal. Installing fiber cement siding requires precision, professional expertise, and adherence to best practices to ensure long-term performance. Below is a comprehensive guide detailing each step of the installation process, highlighting key considerations, expert insights, and practical recommendations for achieving the best results.
1. Selecting the Right James Hardie Siding and Trim
The first step in the installation process is choosing the siding style and color. James Hardie offers a variety of styles, including HardiePlank® lap siding, HardieShingle® siding, and HardiePanel® vertical siding. The ColorPlus® Technology ensures long-lasting, fade-resistant finishes. Contractors work closely with homeowners to select the ideal option, ensuring the siding complements the home’s architecture and withstands local climate conditions.
2. Removing Existing Siding
Before new siding can be installed, the old siding must be removed. This process includes:
- Stripping away existing materials such as vinyl, wood, or stucco.
- Properly disposing of debris to maintain a clean workspace.
- Inspecting underlying structures for any damage, such as rotting wood or mold, which needs to be addressed before new siding installation.
3. Assessing and Repairing the Structural Integrity of the Home
After the old siding is removed, professionals inspect the home’s exterior walls for any signs of water damage, mold, or structural weakness. Any deteriorated wood, insulation, or framing components must be replaced to ensure a solid foundation for the new siding. Proper repairs at this stage prevent moisture intrusion and increase the lifespan of the new siding.
4. Installing a Weather-Resistant Barrier
James Hardie siding works best when paired with a high-quality weather-resistant barrier. A vapor-permeable house wrap, such as Hardie™ Weather Barrier, is installed to:
- Prevent water infiltration while allowing moisture to escape.
- Enhance energy efficiency by providing additional insulation.
- Reduce the risk of mold and mildew buildup.
5. Measuring and Cutting Fiber Cement Siding Panels
Each siding board must be precisely measured and cut to fit the home’s dimensions. Since fiber cement is denser than wood or vinyl, specialized tools such as fiber cement shears or circular saws with carbide-tipped blades are used. Precision cutting ensures a seamless installation and proper alignment.
6. Installing the James Hardie Siding Panels
Siding panels are installed methodically, starting from the bottom of the home and working upward. The process includes:
- Leaving proper expansion gaps between boards to accommodate temperature changes.
- Overlapping planks to prevent moisture penetration.
- Using corrosion-resistant nails or screws to secure the panels in place.
7. Applying Trim for a Polished Look
HardieTrim® boards are installed around doors, windows, and corners to create a finished appearance and provide additional protection. Properly installed trim enhances the aesthetic appeal and adds structural reinforcement to the siding.
8. Sealing Gaps with High-Performance Caulk
Even the most precisely cut siding will have small gaps that need to be sealed. A high-quality, paintable caulk is applied to:
- Prevent water intrusion.
- Improve energy efficiency by reducing drafts.
- Enhance the overall appearance of the siding installation.
9. Painting or Using Pre-Finished ColorPlus® Technology
If ColorPlus® pre-finished siding was chosen, no additional painting is needed. However, for primed siding, professional painters apply weather-resistant, high-quality exterior paint to ensure a uniform and durable finish. Factory-coated ColorPlus® siding provides:
- Fade resistance and UV protection.
- A 15-year limited warranty on the paint finish.
- Even color application without the need for immediate repainting.
10. Final Inspection and Quality Assurance Check
Before the project is completed, a thorough inspection is conducted to:
- Ensure proper installation according to James Hardie specifications.
- Verify that all seams are properly sealed.
- Confirm that the siding aligns with the home’s architectural style.
11. Cleaning Up the Job Site
After installation, the site is cleaned to remove any debris, leftover materials, and nails. Contractors use magnetic sweepers to collect stray nails and ensure the property is safe and tidy.
12. Enjoying the Benefits of James Hardie Siding
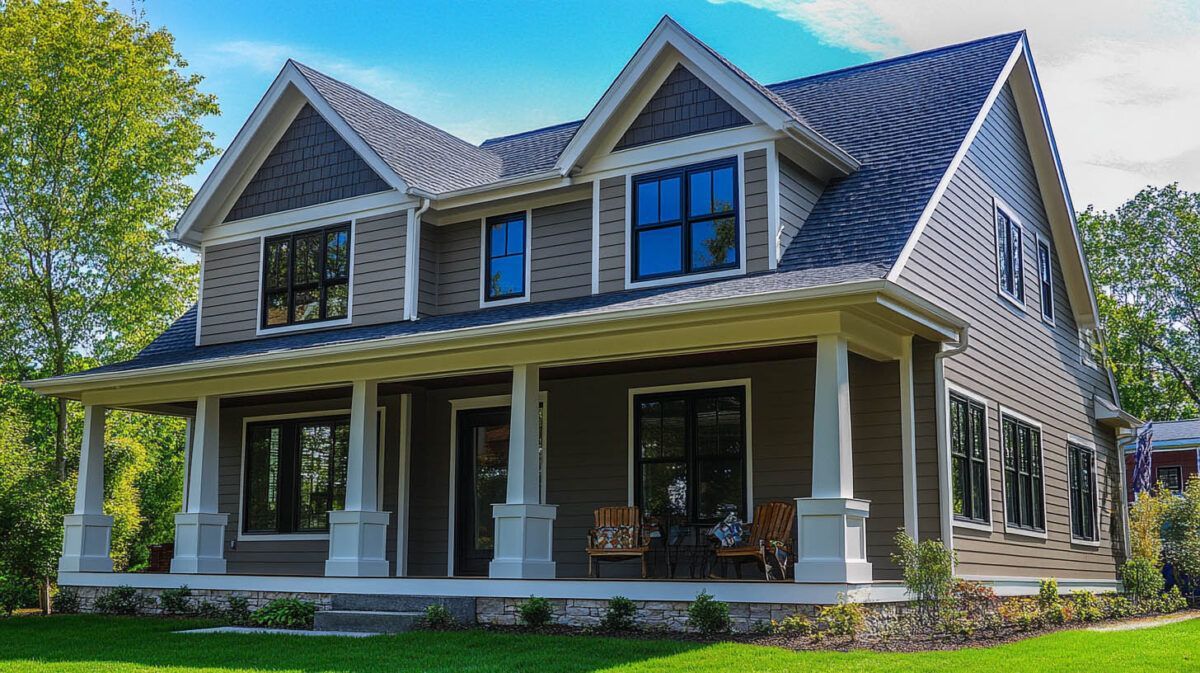
With installation complete, homeowners can enjoy a durable, low-maintenance exterior that enhances curb appeal and protects the home from harsh weather conditions. James Hardie siding offers industry-leading benefits, including:
- Fire resistance, making it a safer choice than wood or vinyl.
- Pest resistance, preventing damage from termites and rodents.
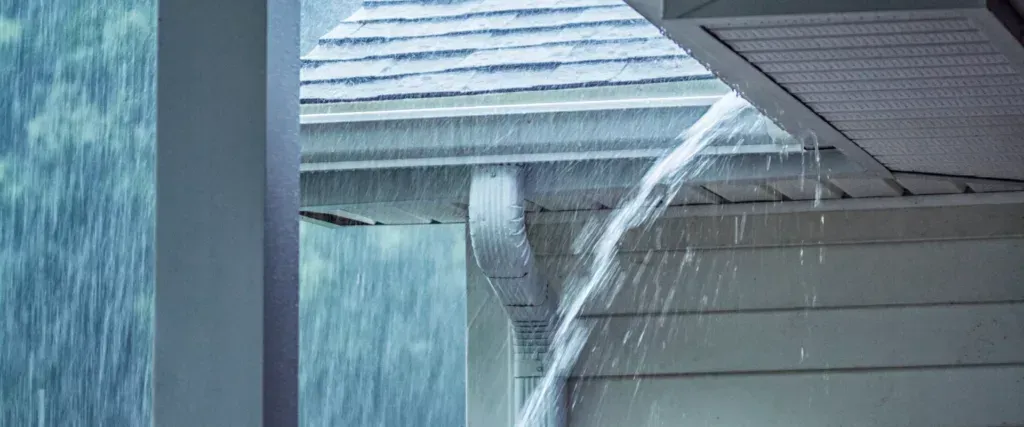
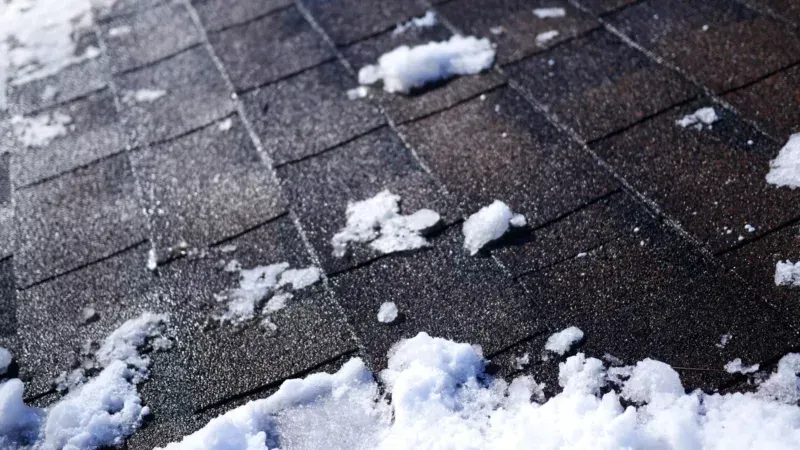
- Superior weather durability against rain, snow, and humidity.
Why Professional Installation Matters
James Hardie siding requires specialized knowledge for proper installation. Working with experienced professionals ensures:
- Compliance with manufacturer guidelines, preserving warranty coverage.
- A seamless and aesthetically pleasing finish.
- Long-term performance and durability.
Homeowners looking for expert siding installation can trust 180 Contractors Roofing & Siding, located in Troy, MI. With a reputation for excellence, they provide high-quality siding solutions tailored to each home’s needs.
Certifications and Recognitions
- BBB A+ Accredited for outstanding business practices.
- Guildmaster (GuildQuality) for superior customer satisfaction.
- INC 5000 recognition as a top-growing company.
- Google Guaranteed for verified quality services.
- Qualified Remodeler Top 100 Satisfaction for excellence in home remodeling.
Frequently Asked Questions (FAQs)
1. How long does it take to install James Hardie siding?
The installation timeline varies depending on the home’s size and complexity. On average, it takes 7-10 days for a professional crew to complete the project.
2. Does James Hardie siding require maintenance?
James Hardie siding is low-maintenance but should be cleaned annually with mild soap and water. ColorPlus® siding resists fading, reducing the need for frequent repainting.
3. Can James Hardie siding be installed in cold weather?
Yes, fiber cement siding can be installed year-round. However, extreme temperatures may affect curing times for caulk and adhesives.
4. Is fiber cement siding fire-resistant?
Yes, James Hardie siding is non-combustible, providing superior fire resistance compared to wood or vinyl.
5. Will fiber cement siding increase home value?
Yes, James Hardie siding enhances curb appeal, improves durability, and has a high return on investment, making it an excellent choice for homeowners looking to boost property value.
Conclusion
James Hardie siding installation is a meticulous process that requires careful planning, precise execution, and expert craftsmanship. By following best practices and working with experienced professionals, homeowners can enjoy a long-lasting, beautiful exterior that stands up to the elements for decades.
Read also our blog:
The Best Siding Options for Your Home: A Comprehensive Guide