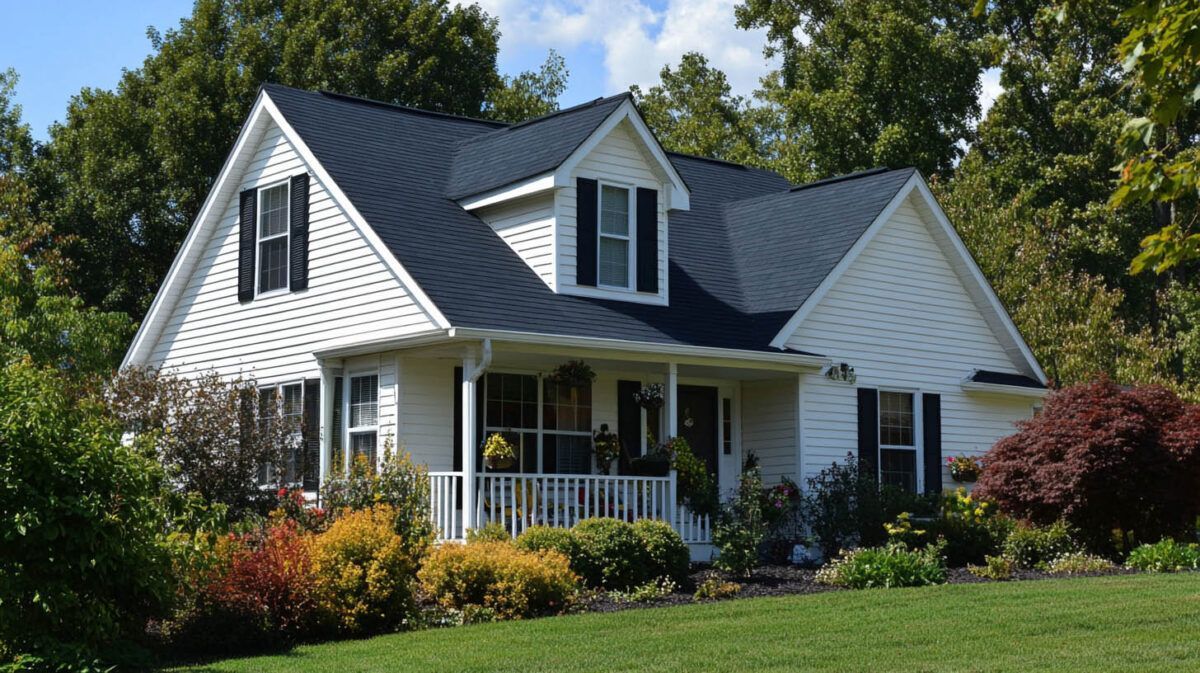
Vinyl siding is one of the most cost-effective and durable ways to transform a home’s exterior, offering resistance to weather conditions, low maintenance, and a wide variety of styles. Whether upgrading an old façade or installing siding for the first time, understanding the proper installation techniques is crucial to achieving a long-lasting and visually appealing result. This guide provides an in-depth, step-by-step process for installing vinyl siding, ensuring a professional finish while avoiding common mistakes.
Benefits of Vinyl Siding
Vinyl siding offers numerous advantages, making it a top choice for homeowners and contractors.
Durability and Weather Resistance
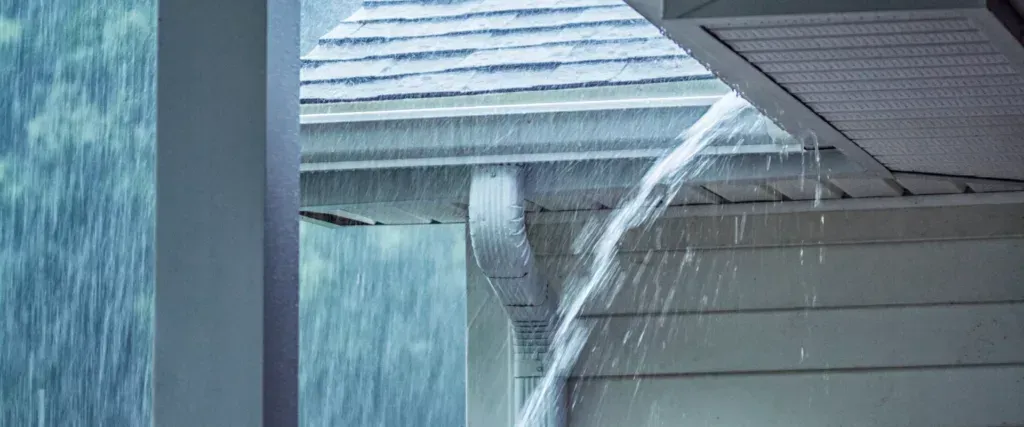
Vinyl siding is designed to withstand extreme temperatures, strong winds, and moisture. Unlike wood, it does not rot or warp over time, making it an excellent long-term investment. Many manufacturers offer warranties of 20 to 50 years, ensuring that it remains a reliable exterior solution.
Low Maintenance
Unlike traditional wood or brick exteriors, vinyl siding requires minimal upkeep. It does not need to be painted or stained, and it can be cleaned using a simple mixture of water and mild detergent.
Aesthetic Variety
Available in a wide range of colors, textures, and profiles, vinyl siding can mimic the look of wood, stone, or traditional clapboard. Whether you prefer a modern, sleek look or a classic, rustic appeal, there is an option that suits your taste.
Energy Efficiency
Many modern vinyl siding products come with insulated backing, reducing heat loss and improving a home’s energy efficiency. This can lead to lower utility bills, making vinyl siding an eco-friendly and cost-effective choice.
Preparing for Vinyl Siding Installation
Proper preparation is essential to ensure the siding adheres correctly and lasts for years.
Inspecting the Home Exterior
Before installation, inspect the home’s exterior for signs of damage, including rotting wood, mold, or structural issues. Any compromised areas should be repaired before proceeding.
Cleaning and Surface Preparation
Remove any old siding, loose paint, or debris from the surface. Power washing the exterior ensures a smooth and clean base for the vinyl siding.
Measuring and Planning
Accurate measurements help determine the amount of siding needed. Measure the height and width of each wall and account for doors, windows, and corners. This reduces material waste and ensures a seamless installation.
Tools and Materials Needed
To install vinyl siding efficiently, the following tools and materials are essential:
- Vinyl siding panels
- J-channel
- Starter strips
- Corner posts
- Nails or screws
- Tape measure
- Level
- Power saw with a fine-tooth blade
- Tin snips
- Utility knife
- Hammer
- Caulk gun
Ensuring all materials are on hand before starting prevents unnecessary delays.
Step-by-Step Guide to Installing Vinyl Siding
Step 1: Installing the Starter Strip
The starter strip serves as the foundation for the siding panels. It should be installed along the bottom of the wall, ensuring it is level. An uneven starter strip can cause alignment issues throughout the entire installation.
Step 2: Installing J-Channel Around Openings
J-channels help secure siding around windows, doors, and other openings. They allow for expansion and contraction of the siding, preventing warping.
Step 3: Installing Corner Posts
Corner posts provide a finished edge to the siding and support the ends of the panels. These should be installed first, ensuring they are vertically aligned.
Step 4: Attaching the Vinyl Siding Panels
Starting from the bottom, panels should be placed with an overlapping design, locking into the piece below. Each panel should be securely fastened but not overly tight, as vinyl expands and contracts with temperature changes.
Step 5: Securing the Final Row
The last row of siding may need to be trimmed to fit properly under the eaves. A utility knife or power saw with a fine-tooth blade can make precise cuts.
Common Mistakes to Avoid
Avoiding these mistakes will ensure a smooth and long-lasting installation:
Over-Nailing or Over-Screwing
Vinyl siding should be attached loosely to allow for expansion. Over-tightening nails or screws can cause buckling or cracking.
Improper Overlaps
Each panel should overlap by at least an inch to prevent gaps and water infiltration. Poor alignment can create visible seams and reduce the siding’s effectiveness.
Failure to Allow for Expansion and Contraction
Siding must be installed with small expansion gaps near windows, doors, and corners to accommodate changes in temperature.
Skipping the Weather Barrier
A weather-resistant barrier or house wrap provides additional moisture protection. Skipping this step can lead to water damage over time.
Maintaining and Cleaning Vinyl Siding
Vinyl siding requires minimal maintenance, but periodic cleaning keeps it looking new:
- Use a soft cloth or soft-bristle brush to remove dirt and debris.
- Avoid harsh chemicals or abrasive scrubbers, which can damage the siding.
- Rinse thoroughly with a garden hose after cleaning to remove residue.
- Inspect for any cracks or loose panels and repair them promptly.
When to Hire a Professional
While vinyl siding installation is manageable as a DIY project, hiring a professional may be the best option for complex jobs or multi-story homes. Experienced contractors ensure precise installation, preventing costly mistakes.
Why Choose a Professional Siding Contractor?
A professional contractor provides:
- Expertise in proper installation techniques
- High-quality materials and tools
- Faster project completion
- Warranty-backed work for long-term peace of mind
For homeowners looking for expert vinyl siding installation, 180 Contractors Roofing & Siding in Troy, MI offers top-tier services. The company is BBB A+ accredited, a Guildmaster (GuildQuality) award winner, part of the INC 5000 list, and Google Guaranteed. With partnerships with leading brands like James Hardie, Alside, and Everlast, they ensure superior craftsmanship and customer satisfaction.
Frequently Asked Questions (FAQs)
How long does vinyl siding last?
With proper installation and maintenance, vinyl siding can last between 20 to 50 years. High-quality materials and professional installation extend its lifespan.
Can vinyl siding be installed over old siding?
Yes, but it depends on the condition of the existing siding. If the current siding is damaged or uneven, it should be removed for a smooth installation.
Does vinyl siding fade over time?
Modern vinyl siding is designed with UV protection to resist fading. However, darker colors may show slight fading after many years of exposure to direct sunlight.
Is vinyl siding energy efficient?
Insulated vinyl siding helps improve energy efficiency by reducing heat transfer, keeping homes cooler in summer and warmer in winter.
Can I paint vinyl siding?
Yes, but it is not necessary. If painting is required, use paint designed for vinyl surfaces and light-reflective colors to prevent overheating.
Conclusion
Vinyl siding installation is an excellent way to enhance a home’s appearance, durability, and energy efficiency. With proper preparation, the right tools, and careful execution, homeowners can achieve a professional-looking finish. However, for guaranteed results and long-term durability, hiring a professional contractor is always a wise investment. Whether tackling a DIY project or seeking expert installation, vinyl siding is a smart, cost-effective choice for any home.
Read also our blog:
Enhancing Your Local Business with High-Quality Siding Solutions in Waterford