Top Tips to Get Ready for Your Siding Replacement

A siding replacement is a major investment that can really change how your home looks and protects it. It isn’t only about making it look better; it also helps safeguard your home from weather damage and boosts its value. This guide will help you understand why replacing siding on time is important. It will also show you how to choose the best materials and prepare for the installation process. You will gain the knowledge needed to make smart choices for a successful replacement project. If you’re in the Rochester Hills, MI area, consider hiring our company, 180 Contractors Roofing & Siding, for your replacement needs.
Understanding the Importance of Siding Replacement
Siding replacement plays a major role in safeguarding your home against external elements and enhancing its aesthetic appeal. Beyond just looks, siding acts as a protective shield, preventing water infiltration and potential water damage. Recognizing signs that it’s time for replacement, such as mold growth or small cracks, is crucial to maintaining your home’s exterior. Installing new siding not only boosts your home’s curb appeal but also improves energy efficiency, potentially lowering energy bills in the long run. By understanding the significance of proper maintenance and choosing the right siding materials, you can ensure your replacement project is a worthwhile investment that brings both peace of mind and added value to your home.
The Role of Siding in Home Protection and Aesthetics
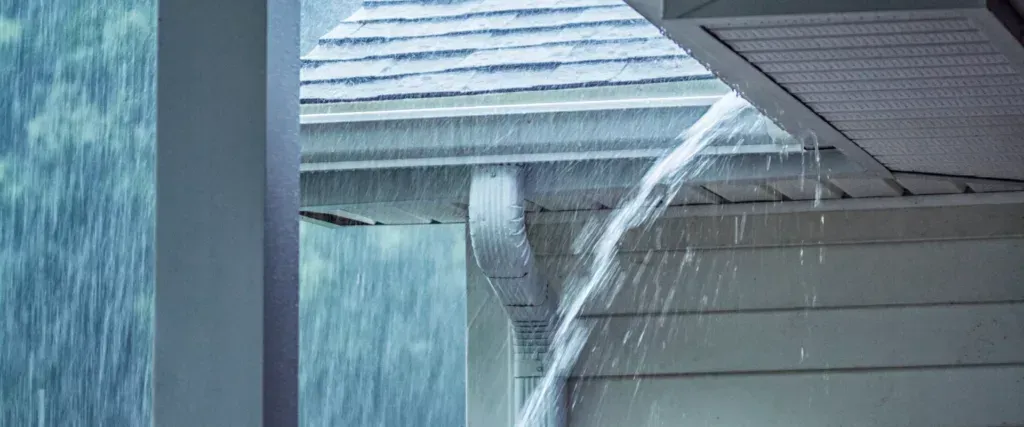
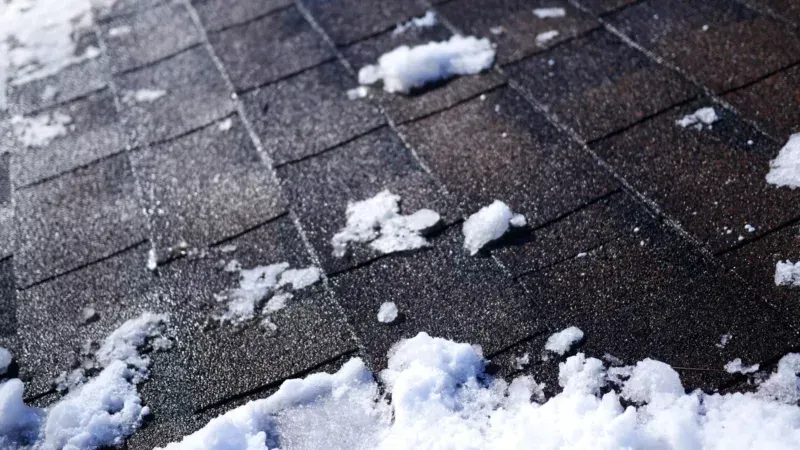
Siding plays a vital dual role in safeguarding your home and enhancing its visual appeal. From shielding your property against harsh weather elements and preventing water infiltration to significantly impacting your home’s curb appeal, siding is a crucial element of your home’s exterior. The right siding not only provides protection but also adds to the overall aesthetic appeal, making it an integral part of your property’s façade.

Time for Replacement
Small cracks, mold growth, or water damage on your home’s siding indicate potential issues requiring immediate action. If you notice an increase in energy bills or see signs of water infiltration, it may be time for a replacement project. Take a close look at the condition of your siding; if it appears worn or damaged, consulting a professional contractor is advisable. Pay attention to the aesthetic appeal and curb appeal of your home; outdated or deteriorating siding can significantly impact your home’s exterior.
Choosing the Right Material
Choosing the right siding for your home is very important. It helps you meet your style, budget, and maintenance needs. Every siding type has its own good and bad points. So, it’s essential to look closely at these details based on your home and where you live.
Pros and Cons of Popular Materials
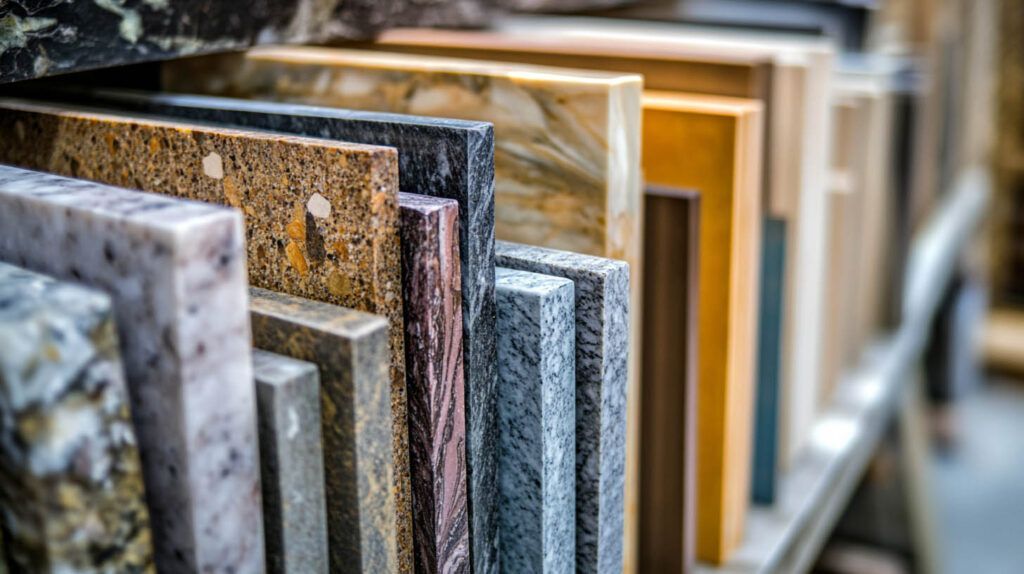
Fiber cement siding is a durable option that resists rot and fire, but it can be costly to install due to its weight. Vinyl siding is low maintenance and affordable, but it may crack in extreme temperatures. Wood siding offers a classic look but requires regular maintenance to prevent mold growth and water damage. Each material has its advantages and drawbacks that should be considered based on your aesthetic preferences, budget, and long-term maintenance plans. It’s essential to weigh the pros and cons of these popular materials carefully before making a decision for your replacement project.
Preparing for Your Replacement Project
Proper preparation is very important for a smooth siding replacement project. Before the installation starts, take time to get your home and yard ready. This can help avoid delays and problems. Clear the area around your house of any things like outdoor furniture, plants, and decorations.
Make sure there is easy access to power outlets for the contractor’s tools. It’s smart to talk with your contractor about any special needs or worries you have before the work begins. By solving possible issues ahead of time, you help create a smooth experience for both you and your contractor. This allows for a hassle-free replacement.
Essential Tools and Equipment Needed
To ensure a smooth replacement process, having the essential tools and equipment is crucial. Here are some items you may need: a zip tool for efficient removal, a level for proper installation, and safety gear to protect yourself during the project. Additionally, having a hammer, utility knife, ladder, tape measure, and a nail gun can make the job easier. Proper tools not only facilitate the installation process but also ensure the longevity of your new siding. Before starting the project, double-check if you have all the necessary tools to avoid interruptions.
Siding Replacement Process
Starting a big home improvement project, like siding replacement, might feel overwhelming. However, knowing the step-by-step process makes things clearer and helps you set realistic expectations. Each stage, from the first meeting to the final check, is important for a successful job.
This guide explains each stage of the process. It shows what you can expect and when to talk to your contractor. By learning about these steps, you get helpful information about replacement. This knowledge allows you to make smart choices and handle this important project with confidence.
Step 1: Initial Consultation
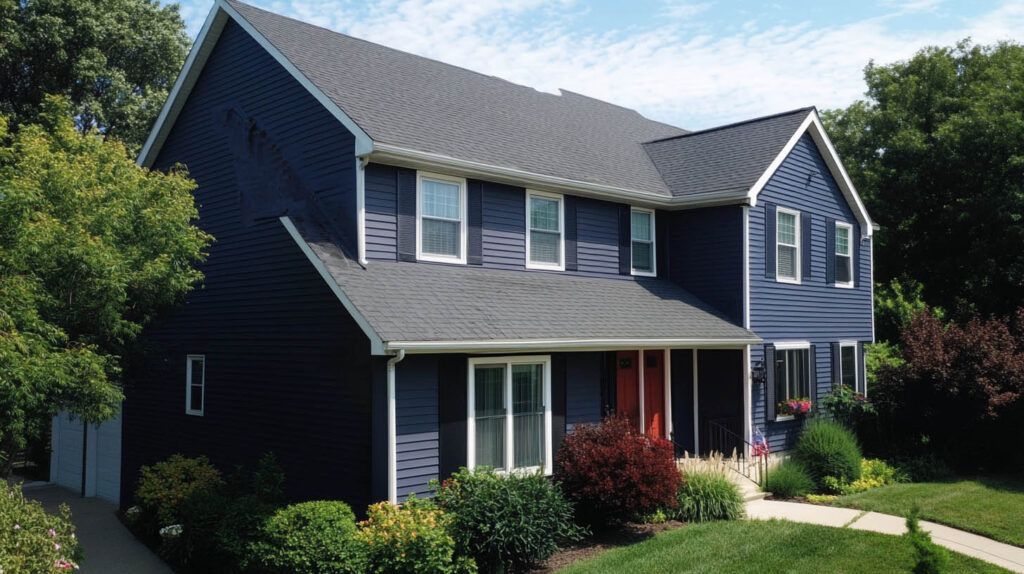
During the initial consultation with 180 Contractors Roofing & Siding, you will discuss your replacement project in detail. This meeting marks the beginning of your replacement process, where professional contractors will assess your needs and preferences. They will guide you on navigating local building codes and help you understand the installation process. This step is crucial in ensuring that the right contractor is chosen for your project. Be prepared to communicate your aesthetic preferences and any concerns you have regarding the installation day. By engaging in this efficient process from the start, you set the stage for a successful replacement journey.
Step 2: Choosing Your Siding Brand: James Hardie, Alside, Everlast
When selecting a siding brand for your replacement project, consider reputable options like James Hardie, Alside, and Everlast. Each brand offers unique benefits to cater to different preferences and requirements. James Hardie siding, known for durability and longevity, is suitable for various climates and provides a classic look. Alside siding focuses on enhancing a home’s aesthetic appeal while offering energy-efficient solutions. Everlast siding boasts low maintenance requirements and exceptional durability, perfect for long-term savings. Researching these brands thoroughly and consulting with professionals can help ensure that you choose the most suitable option for your home’s replacement project.
Step 3: Site Preparation and Safety Measures
Before diving into the installation process, proper preparation is crucial. Start by ensuring the site is ready for the replacement project. Clear the area of any outdoor furniture or fragile items to prevent damage. Besides, safety should be a top priority. Identify any potential hazards and take immediate action to address them. Remember, safety measures are essential for a smooth and incident-free installation day. Proactively following safety protocols not only protects you and your property but also contributes to a seamless and efficient process. By prioritizing site preparation and safety measures, you lay a strong foundation for a successful siding replacement project.
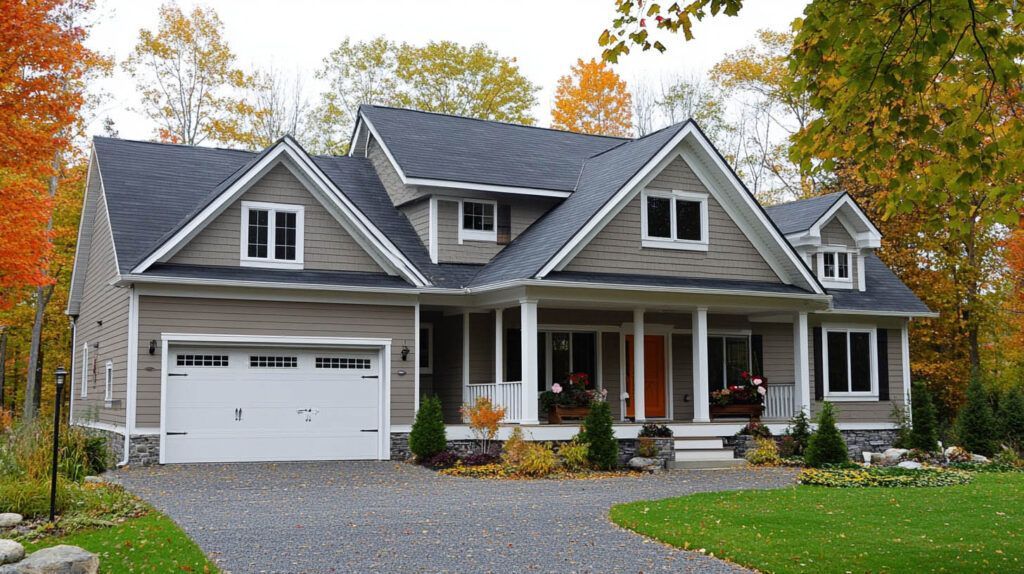
Step 4: Removing Old Siding and Inspecting for Damage
Before proceeding with the new siding installation, it is crucial to meticulously execute Step 4: Removing Old Siding and Inspecting for Damage. This stage in the siding replacement process requires a close look at the existing siding to identify any signs of damage or water infiltration. Proper inspection helps in determining the extent of any underlying issues that may impact the installation and long-term durability of the new siding. By carefully removing the old siding, you can also uncover any hidden problems such as mold growth or water damage. Timely identification of such issues ensures a smooth transition to the installation of the new siding, setting the foundation for a successful replacement project.
Step 5: Installation of New Siding
During the installation of new siding, it is crucial to ensure a seamless process. Professional contractors play a significant role in executing this step efficiently. By adhering to local building codes and the manufacturer’s guidelines, a smooth installation process can be achieved. Factors like temperature changes must be considered to guarantee proper installation, preventing issues like water infiltration and subsequent damage. Choosing the right contractor for your siding replacement project is key to a successful installation day. Their expertise ensures immediate action and high-quality workmanship, providing you with peace of mind throughout the process. With the right steps in place, your home’s exterior will soon showcase the aesthetic appeal and durability of your new siding.
Step 6: Final Inspection and Cleanup
Ensure a meticulous final inspection and cleanup after your siding replacement project. Examine the newly installed siding closely for any imperfections or areas that may require touch-ups. Check for proper installation to prevent water infiltration and potential damage. Dispose of any debris or waste from the old siding removal securely, ensuring a clean worksite. Utilize appropriate tools such as a zip tool for this process. Pay attention to details during the cleanup to maintain your home’s exterior appeal. Consider hiring professional help for an efficient process and peace of mind. A thorough final inspection and cleanup are crucial for the longevity and visual appeal of your new siding.

Connect With Us
When you plan your siding replacement project, being ready is very important. You need to know why replacement matters for both safety and looks. Look for signs that show it’s time to get new siding. Choose the right siding material for your home carefully. By using a simple guide and hiring a good contractor, you can have a smooth process from start to finish. Don’t forget to keep your new siding clean and check it regularly. This will help it last longer. Get quotes now to start your siding replacement journey! Our award-winning team is BBB A+ accredited, Guildmaster (Guildquality) recognized, listed on the INC 5000, Google Guaranteed, and ranked in Qualified Remodeler’s top 100 for customer satisfaction.
Frequently Asked Questions
How do I prepare my house for new siding?
Proper preparation helps the installation process go smoothly. Clear the area around your house. Move outdoor furniture, plants, and fragile items out of the way. This will give the installation team easy access and reduce the chance of any damage.
What do I need to know before replacing siding?
Before replacing siding, understand signs indicating replacement necessity and choose suitable materials based on pros and cons. Consider the role of siding in home protection and aesthetics. Ensure proper inspection, removal of old siding, and expert installation for a successful project.
What’s the best time of year for a siding installation?
The best time for siding installation is when the weather is mild. Spring and fall are usually the best seasons. They have good temperatures that avoid very hot or very cold days. This makes the installation process easier and helps stop problems caused by temperature changes.
Learn more about
budget-friendly ways to replace your home’s siding.
GET A FREE QUOTE
We will get back to you as soon as possible.
Please try again later.
Recent Posts