A leaking chimney can be one of the most frustrating and damaging roofing issues a homeowner can face. Left unaddressed, it can lead to stained ceilings, rotting framing, mold, and even compromised structural integrity. For homeowners in Bloomfield Hills, MI, MI, where winter freeze-thaw cycles and heavy spring rains are common, learning how to identify and fix a chimney leak is crucial for protecting your home.
At
180 Contractors Roofing & Siding, we’ve helped countless homeowners resolve chimney leaks quickly and effectively. With decades of experience and local weather expertise, we know how to deliver long-lasting repairs that prevent future damage.
Common Signs of a Chimney Leak
Before diving into repairs, it’s important to spot the signs of a chimney leak early. These include:
- Water stains on ceilings or walls near the chimney
- A musty smell in the attic or fireplace area
- Cracked chimney bricks or deteriorating mortar
- Rusted fireplace doors or damp fireboxes
- Shingles deteriorating around the chimney base
If you notice any of these issues, your chimney could be the source—and a quick fix could save you from major roof repairs later.
Step 1: Inspect Flashing and Sealants
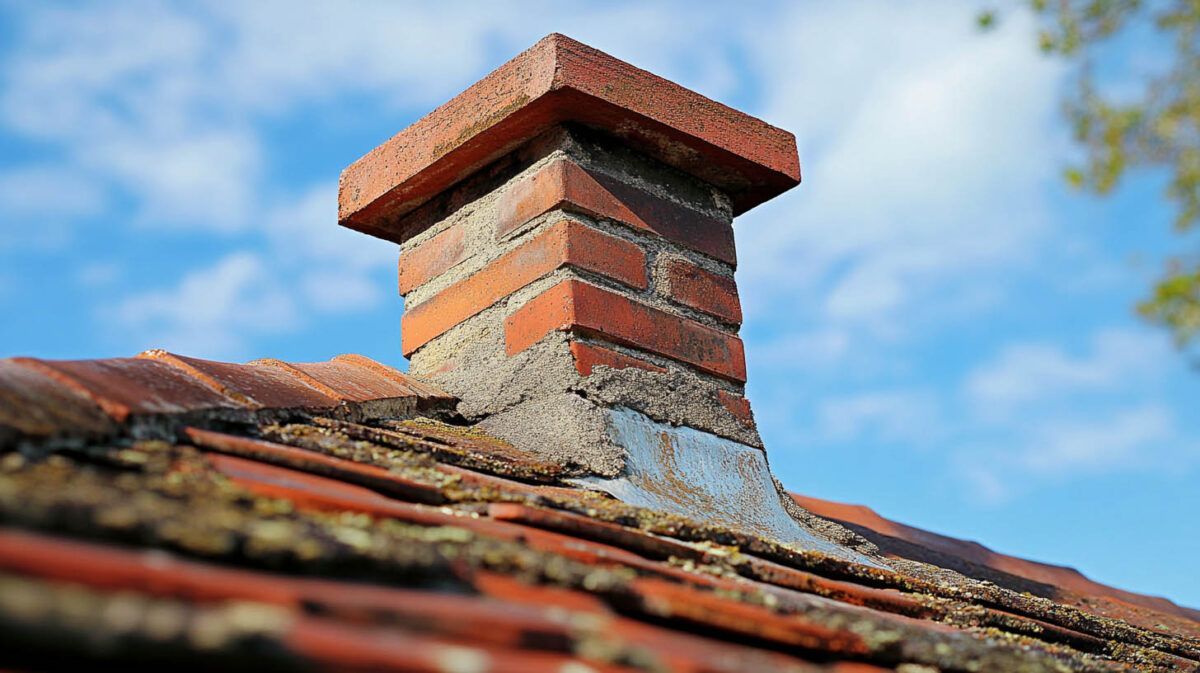
Most chimney leaks originate from failed or improperly installed flashing. Flashing is the metal material that seals the gap between your roof and chimney base. Over time, flashing can rust, lift, or crack due to age or weather.
Check for:
- Loose or missing flashing pieces
- Gaps where flashing meets brick or shingles
- Cracked or dried-out caulking
In Bloomfield Hills, MI’s climate, where extreme temperature shifts cause expansion and contraction, flashing can deteriorate faster than expected.
Step 2: Examine the Chimney Crown and Cap
The crown is the concrete or mortar top of your chimney. If it cracks or erodes, water can seep in and travel down through the interior masonry. Similarly, a damaged or missing chimney cap—meant to keep out rain and debris—can allow direct water entry.
Repairs might include:
- Sealing hairline cracks with a waterproof crown coat
- Rebuilding the crown if it’s severely damaged
- Installing or replacing a chimney cap
These fixes are essential in climates like Michigan’s, where snow and ice can wreak havoc on exposed masonry.
Step 3: Address Brick and Mortar Deterioration
Water can penetrate through porous bricks and mortar joints. Freeze-thaw cycles in Bloomfield Hills, MI often cause mortar to expand and crack. This allows even more water to enter, leading to interior leaks.
Solutions include:
- Tuckpointing (removing and replacing damaged mortar)
- Applying a waterproofing agent to bricks
- Replacing severely damaged bricks
Choosing a breathable sealant that repels moisture while allowing vapor escape is vital to prevent trapping water inside the masonry.
Step 4: Repair Roof Shingles Around the Chimney
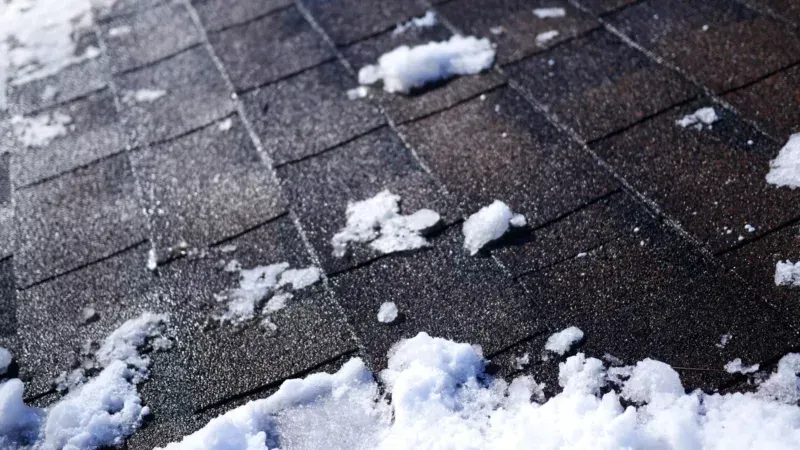
Shingles directly surrounding your chimney can suffer from water pooling, wind damage, or ice dams. Any cracks, warping, or missing shingles can allow water to seep under the flashing and into your roof deck.
Repairs may involve:
- Replacing individual damaged shingles
- Applying roofing cement for minor gaps
- Installing an ice and water shield underlayment for extra protection
Quality roofing materials from brands like Owens Corning are engineered for leak prevention and can significantly improve durability in high-risk areas like chimney bases.
Step 5: Test for Leaks After Repairs
Once you’ve made repairs, it’s essential to test them. Use a controlled water spray (from a garden hose) around the chimney base and roof flashing. Have someone inside the attic monitor for leaks. Testing immediately helps you ensure your repair work is watertight before the next rainfall.
When to Call a Professional
While small chimney leaks might seem manageable, repairs can quickly become complex, especially when structural elements or steep roof pitches are involved. In Bloomfield Hills, MI, where ice dams and high winds are common, professional inspection ensures your chimney is properly sealed from all angles—roof, masonry, and internal flue systems alike.
Long-Term Chimney Leak Prevention
Preventing chimney leaks isn’t just about reacting to problems—it’s about staying proactive:
- Schedule annual roof inspections
- Maintain flashing and sealant around the chimney
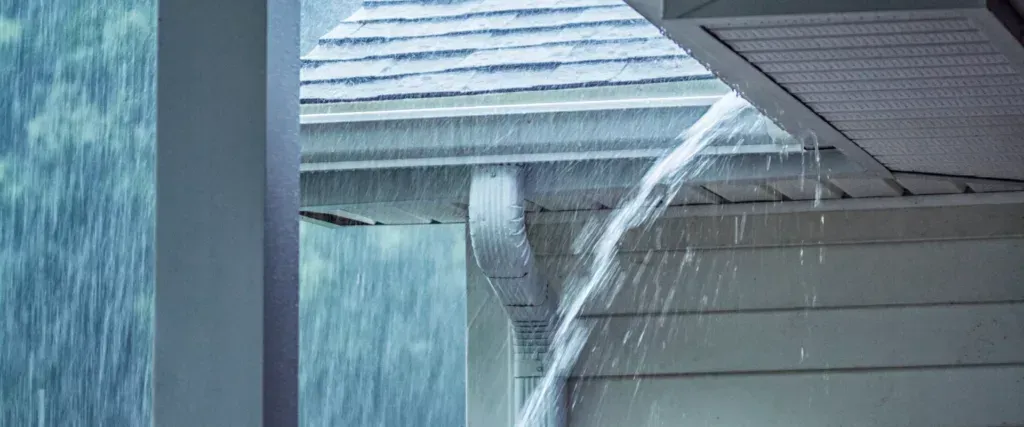
- Keep gutters clear to prevent water overflow near the chimney
- Inspect your chimney cap and crown after storms or heavy snow
By maintaining your chimney regularly, you can avoid major water damage and keep your roof structure sound.
Final Thoughts
A leaking chimney can be subtle at first but turn into a major roofing issue if neglected. Homeowners in Bloomfield Hills, MI, MI must be especially vigilant due to seasonal weather extremes. By inspecting your chimney regularly and addressing issues promptly, you can avoid costly repairs and extend the life of your roof. If you’re unsure or dealing with repeated leaks, don’t hesitate to bring in professionals who understand the demands of your local climate.
Read also our blog:
Rafters vs. Trusses: Which Roofing Structure is Best for You?